Translate

Sunday, 5 April 2015

The difference in leathers used in Malden binders


I´ve often told about difference in Malden leathers. It is understandable that once one sees a certain type of leather in a binder they wish to purchase, and then when it comes and proves to have quite the opposite look... questions arise. It is natural for hides to come in varying nature, in my opinion it would be responsible for a company- any company to first note that leathers can and will vary, or then perhaps they should outline the type of leather to use altogether. 
Had I have promised a customer a silk shirt in satin weft for generous drape, and delivered shirt made of Pongee silk with completely opposite effect it being of rough, nubby texture, this would not have been acceptable. Also, had I measured and agreed to make a size 38 garment, yet the outcome had peen of size 42, this would not have been acceptable and would have deemed me quite the unprofessional, which would be bad reputation and detrimental for professional pride. 
When I ordered two ochre Malden binders in a5, I got one in satin weft and size 38, while the other was size 42 and Pongee silk. In proverbial sense.
The other was incredible dry, it had small tears in leather and while I opened it, I heard the leather tearing apart. It was visibly made of thinner leather and held within itself great promises of future silkiness after- what proved to be several months- of conditioning. 


I have great respect towards leather. I eat meat, I use leather. However, it does not mean we don´t need to respect the animal and the products it provided us with. Native Americans brush blood under their eyes (I do not know if this is true in all tribes but it was true with those with whom I talked with) after killing the animal and gives it thanks for giving its life to humans. In terms of consumption, I think all possible bits of beast should be used. You make hides, pelts, eat the meat, can do preservatives, boil glue etc etc. But you respect the process, you respect the outcome, dammit! When an animal has given its life for you fancy binder, bag, belt, coat, gloves, whatnot, do be decent and take care of it. When animal still has a heartbeat, it also has fat underneath its skin. This fat makes skin elastic, skin can stretch back and forth, it protects the beast from pesticides, diseases, sun, keeps the animal warm or cool. Just as with our species, humans, it is their largest organ and vital to surviving. When an animal is killed and it is separated from its harness, the hide goes through grueling process to make it pliable enough to serve us, the species of humans. The very thought that magically, we as "crown" of food chain, make it so that leather no longer needs the natural fats and oils and can sustain because of the awesome fact that a human is using it and all of a sudden it becomes something very else than the natural organ it once was, having its own requirements now denied and suppressed, is utter garbage and makes us assholes. And that is slightest of the cases. So condition yo´ leathers, dammit! If you are a company, pretend to have some respect, even if you really do not know the meaning of the expression. Trust me, the consumer will not know the lack of your morals, the consumer just won´t see cracking of the leather. Because it´s so hard not to notice it. 
If you are a person who never conditions your leathers... why!?!? Do you know that a leather product can outlive several generations, properly conditioned and will show beautiful patina, but will decay sooner if you just are not in a mood of taking care of something that died for you. Also, it makes you an asshole. Yes, I will judge. Forever. Should you care? Absolutely not but you should condition your damn leather products!


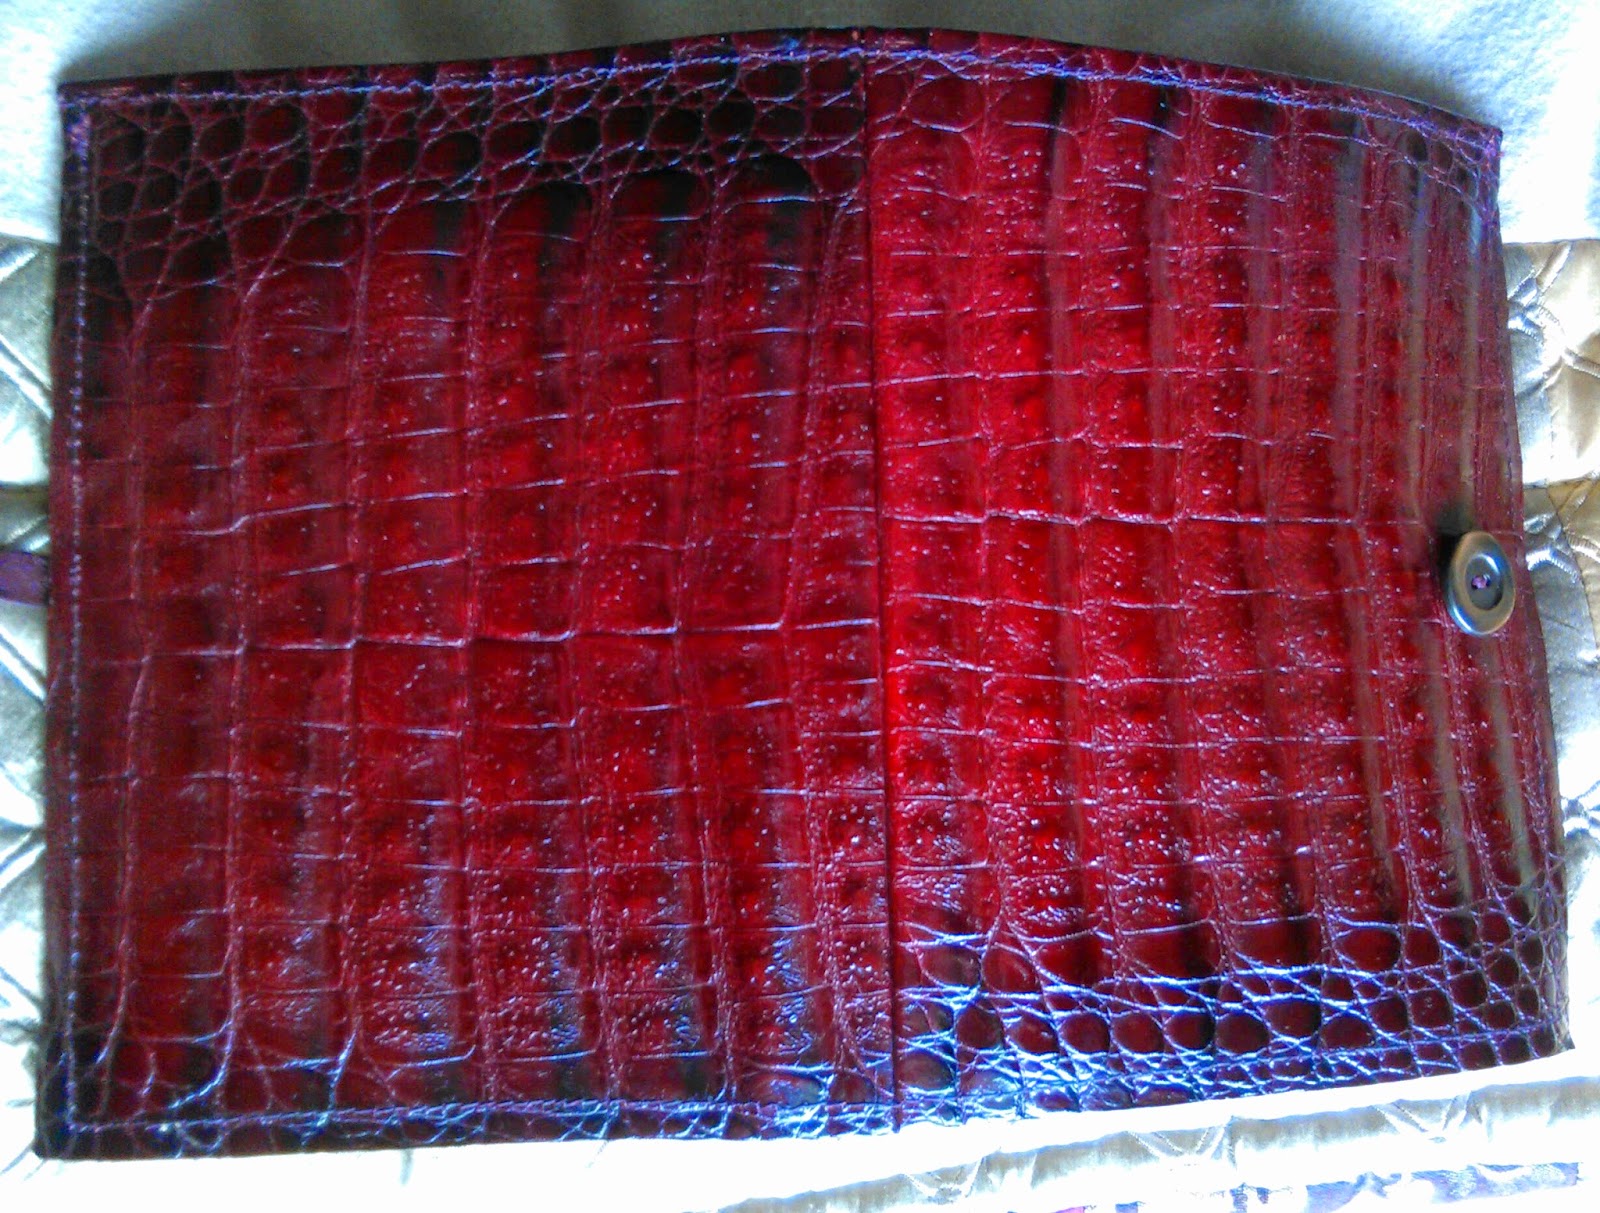
Above is picture of the two binders. The smaller and thinner one lays flat more so than its thicker, grainier and larger friend. Also, notice how the other pocket is of different colour. It is the same colour found on the outside. Best leather for this binder is found on the inside, on the zipper pocket.


The leather on the thinner one was and is thinnest on the upper corner here. It also is creased and pouching. After two years of active use, it still is.


I then applied natural oils (a mix I made back at the time. No chance ever to remember ingredients) to them- because of the dryness. This should be done every time for either dry leather, or leather that has not been conditioned for a long time. After the naturals, I applied medium brown leather creme. The difference in colour got significantly different. After this, another coat of natural oils was applied. All of this got sucked straight in the leather.


I was trying to demonstrate their difference by holding them up, but the coarser and thicker binder wanted to spread up (the hussie) and the flimsier one was having none of that and kept falling down. Perhaps the beast it came from used to be Victorian in previous life? So I opted to show the pair how to compose oneself  and stand up straight.


For several days I applied oils and cremes and leather conditioners to them and especially, the thinner one was beyond thirsty. The binders sucked all oils straight away and I just kept adding. How does one know when the leather is saturated=conditioned enough? The natural fats linger on before whooshing into the leather. Like any organic creature, leather needs moisture and it will feed itself until all is fine and dandy. Picture from above is a week after conditioning with natural oils with no pigment. I could see their true colours coming through as more moisture was given to leather


This picture above  is of the pair as they are. They still are getting conditioned, however they no longer are creaking or breaking and are saturated. The finer one is silky, buttery and soft. Even if I have decades working with different materials, including leather, I could not predict this level of softness after the dry, sandpaper-like feel. My friend kept hugging it and said it was an equivalent to a plushy toy for adult. This interaction made me very uncomfortable and we ended up in a friendly, yet determined enough tug-of-war when it came to possession of the thing. Ever since I´ve  kept it at quasi-safe distance from her.
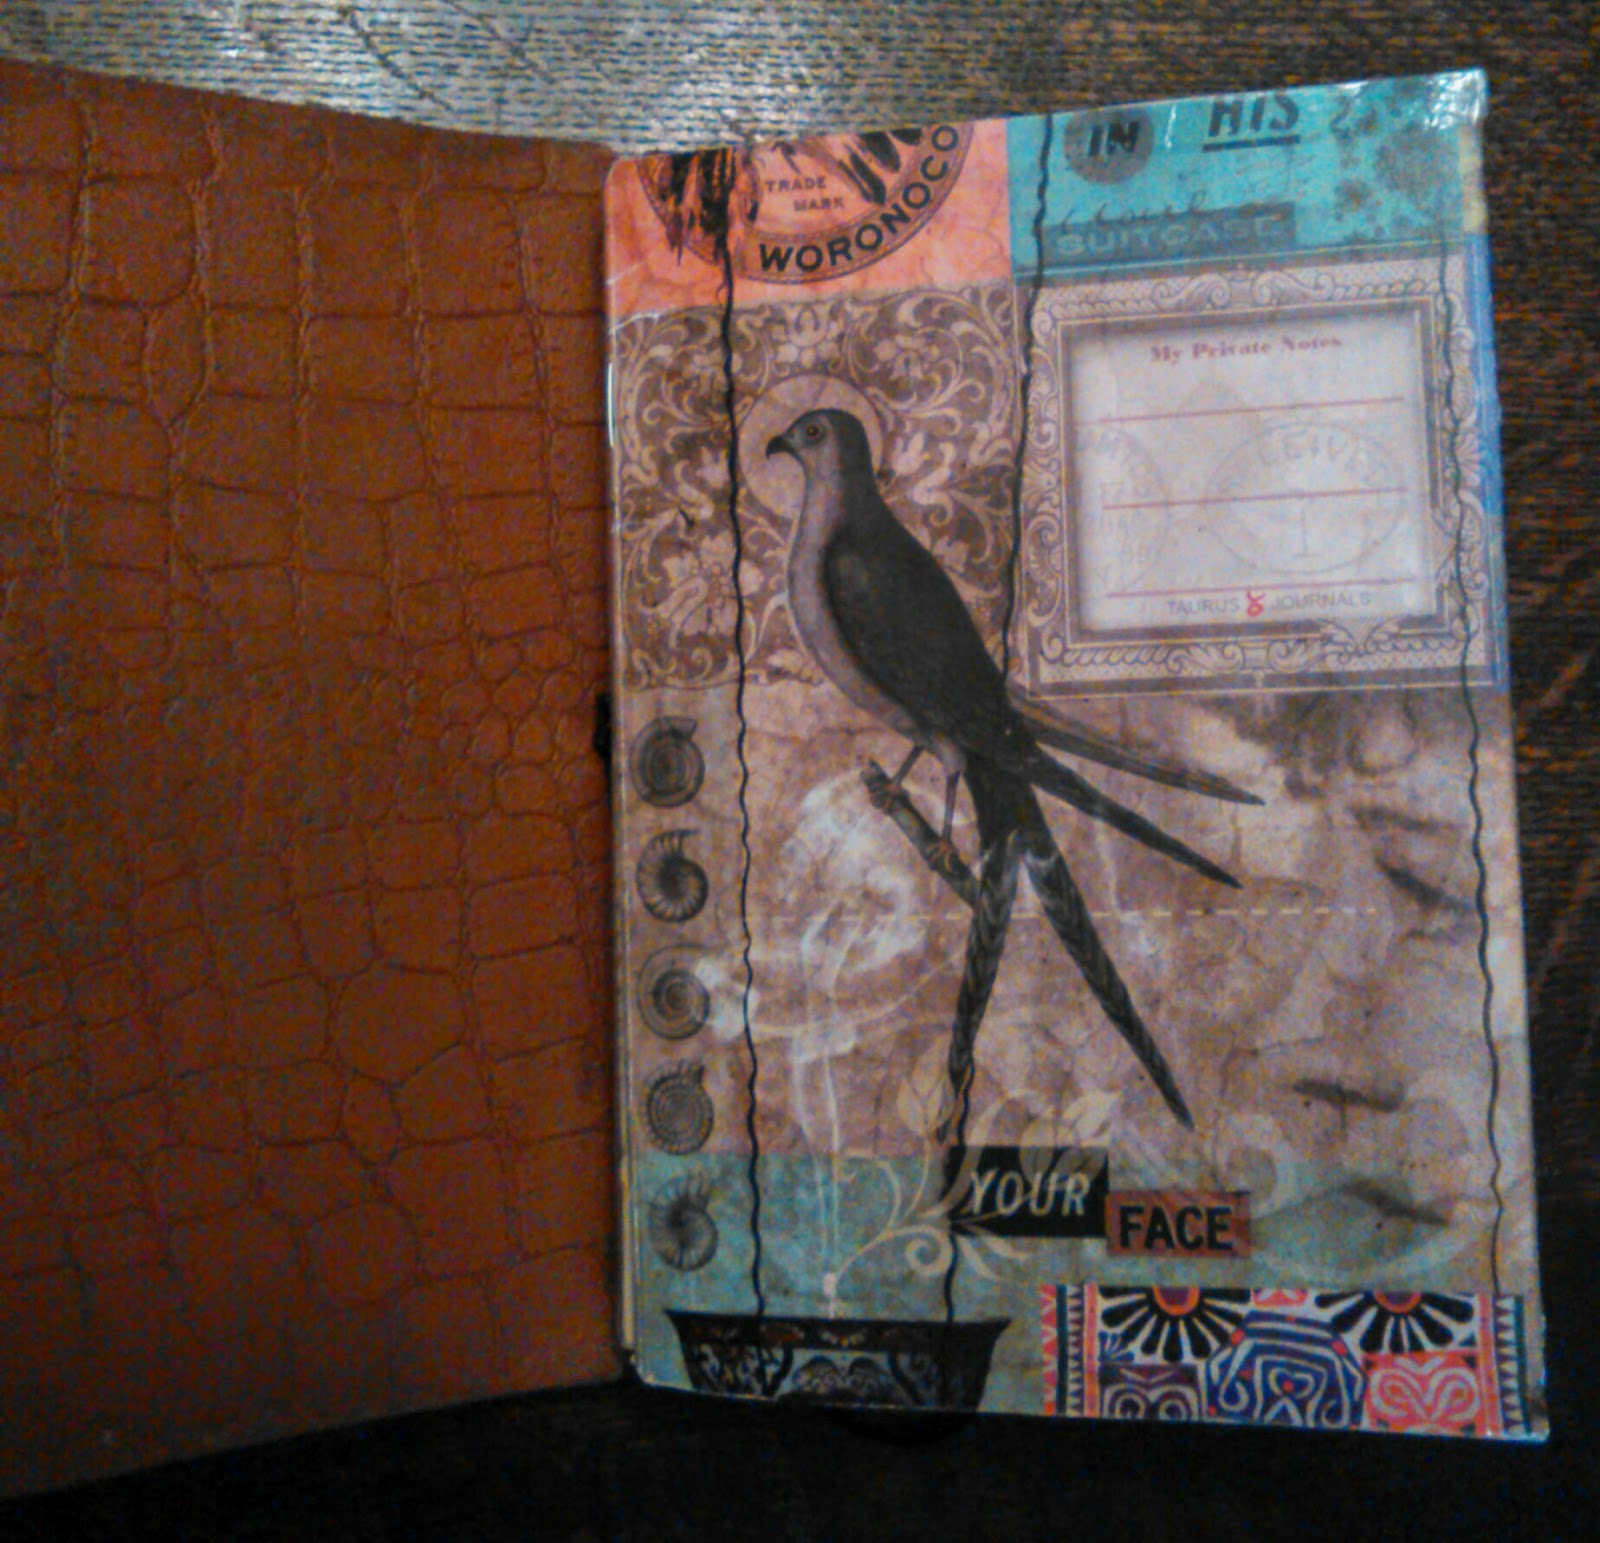
I needed to cut out some material because the rings were useless and gaping, also I made it into a binder that holds 12 cm x 21 cm. notebooks. It is a home for my book projects and indeed, the colour is very espresso. All very naturally so.

The other below is to be seen on pictures on prior posts. I used it as my "one planner" but logistic challenges emerged when I need to use it on the go. Such generous and gorgeous floppiness needs two hands, I dropped it a few times too close to comfort and made it a home to Commonplace Book and Dear Diary. We now have received a new harmony as my planning needs have found a new home in a TN, which agrees more on opening, making appointements and taking notes on the go. 


Sunday, 22 March 2015

Ringless joys


Another perk, if one needs one, is that your binder can be folded in two. This way you make the planner sturdier giving much better surface to write on. I love the floppiness of a Malden but sometimes this maneuver makes a smaller and firmer planner.


I took my son to horse riding and all of a sudden was gifted some time while I waited him back from manège. I took a short walk, but the weather was too cold so I retrieved back to the warmth of the car and pleasure of writing.


Saturday, 14 March 2015

From ring-bound planner to planner Elysian Fields


From the beginning of this year I have tried my very best, nearly every system and every size available and I have even both made and printed sizes that are not readily available. This year has brought new responsibilities and tasks along, albeit my ideal size would be a4 (or a5 if we feel the need to cinch)... however, these sizes are not the most portable. I had this a5- sized Malden with gorgeous leather but it was unusable due to low quality rings. One would suppose that when you end up paying 175€ for a binder, it would not have cheap Chinese rings that give up on their duty before two weeks are in, and in such assumption...one would be wrong. Considering I bought two of these a5 binders at the same time, having the same occurrence happen to both of them... I´m inclined to suspect this is not a coincidence. 
However the leather was wonderful. For several times I considered removing the rings. I had done this before on the other binder already. 
Then Kent from Oz happened. My life now had purpose. I knew what I was expected to do.
Sky was clear, my planner plans whispered of conclusion, the fruit of my hips recovered from his fever to be able to go to school leaving me opportunity to perform pilgrimage to stationary stores, it was as if all the Faeries of the Universe had maneuvered cosmic conspiracies and I was willing to play. 


Above is where it all started from. The bane of my peace of mind was gaping even when the rings were closed. Not for much longer, mind you.


I don´t have awesome manly powers on my hands. My joints are categorized as legally disabled but I was a woman on a mission and you do not get in a way of a woman with a mission.
As you can see, I needed the help of pliers and bending and wiggling etc. But I got the job done eventually.


Last time,on the case of another binder, I opened and then sewed the seams but this time along, my mission was to get the rings out ASAP and throwing a sharp knife on the case seemed like an appropriate thing to do. I glued and hammered the leather back to where it belonged to. Looking at the edges, you would not know that there ever was a slit. See the picture below.
  

This is what emerged from the insides.


The beauty without low- quality rings. At this point I felt unnaturally victorious. I applied my richest hand creme to my hands to mend the scratches from wiggling the pliers and applied it to the newly liberated friend as well. We were joint in the prospect of a better and brighter future. The amount of lists we would join our forces in! The hills were alive with the sound of music.


Size sans rings is considerable larger than a5 would ever be. 


Even while closed. Could it be a hybrid between an a5 and a4? Would my life, finally be complete? Is it angelic voices and brass flutes I hear? Tomorrow, shall we all join hands and sing "cumbaya" and will the wars finally end (how uncanny would it be if all the pageants would have to come up with a new go-to answer!)  

YYYYEEEESSSHH! Ok, so the world peace didn´t quite work out, unfortunately, but can you see how beautifully the leather cover sits atop an a4- sized wax cover notebook.


And this pain in the ... places found its rightful place in the bin.
My parting words for this monstrosity would be...
NSFW and for the love of all that is good-do not start the video while children are nearby!

And the last two pictures of it on use. Majority of these pictures were taken in direct daylight, to give as accurate idea of leather, as possible. The following two pictures I took in my bedroom, where the light is harshest, this noon. This really shows the rich grain of leather.


I bought a4 notebooks for this and cut them to size 22 x 18,5 cm´s. Given the size of the binder, I´m surprised of how easy it is to carry. The absence of rings gives binder much needed rigidity. I admit to having shoved another notebook that could be stored next to desk but I chose to add it as well... because I could. I also chose to carry Commonplace Book in the covers as well. 
It makes planner peace quite blissful when you can include two weeks on a spread in which one has ample space to write both appointments and reminders. After planner- notebook I have a bullet journal to delve into detail like I meant it. 


This is how I managed to thread the rubber band. I used a long- corded circular needles to pull rubber band through the back of the covers. I have five rubber bands in the spine.
I cut small slits on both ends of the notebook spine to hold the rubber bands in place, since the openings are considerably far away from notebook edges.


All in all... the only regret I have is that I did not do this earlier. I recommend this very warmly to everybody considering this.

Sunday, 30 November 2014

Binder with 4,5 cm Krause & Handler rings and how it got accustomed to my likings


This was a a3- sized binder with Krause & Handler rings. Fabulous rings in 4,5 cm, needless to say and really unattractive binder. But I bought the binder for something very different on my mind...
The source of this madness was, yet again, Staples.


It became this very handsome personal sized binder that can hold my entire life in one buttery soft leather covers and as promised, elsewhere on the roads of interwebs, I will now tell you here is how it all came to be. Do feel most free to use this as inspiration, copy shamelessly and let your crazy free. I´ll be happy if I helped at all.

Picture below shows a lacquer leather jacket from +60 years back. I very seldom used it because it is just too helplessly big. The leather, however was whispering me those ever- beckoning  murmurs.,, do you see where this was going. Yes, indeed. 
The binder below is my favorite one. It is devine and perfect, made from old briefcase. Too bad the perfection carries only +3 cm rings and my life has taken on the busier lane lately and come 2015, it´ll get even more insane. 


Now, what you must do is to find a leather item with sturdy leather, preferably not something that belongs to another un-knowing fellow human. However, if the fellow human gives his/her thumbs up to his/her leather tote or any other unworn or unused item of leather, congratulate yourself for finding a worthy fellow human.


Then proceed to cut the rings off from binder. If you are sensible person and can do with ordinary 2-3 cm rings, they are vastly found in thin plastic binders that will make this entire process much more tolerable and easy and fast. 
If you, like yours truly, joined the merry folk over at crazytrain, prepare to work for your lunacy.
Also, brew a pot of really nice tea or coffee depending on your preferences. 
No alcoholic beverages, you´ll be working with a sharp knife, after all!


Leave some material  from the binder around your ring system. Unless of course, you are inclined to mess with the hardware. My hands are weak and my impatience unparalleled to anything this world knows. No cobblers live in our household so glue is my best friend. If you are unfortunate to have to deal with cardboard, cut it a little smaller than the plastic around it. Then sand the edges thinner. Taper the thing entirely.

Now measure the middle of your leather.Glue the ring system on it, centering it.

Take another piece of leather and measure its middle line.


Measure the width and length of your ring system. Only metal bits rule! No measuring the surrounding remains from old binder. When you measure the length of of the opening to your binder system, measure to the thin part of metal, no need to leave the entire thing visible. Draw a pattern to your leather, see above.


And this is how it looks from the other side.
It is best to leave the flaps intact at this point. It proves wise to just fold them underneath and glue and hammer them in, in case the leather was any thinner. 
(these pictures were taken in kitchen lighting so they all seem different, depending how far or how close the phone cam was... apparently it had an effect of the hues.


Try the leather on your rings. No glue yet!  At this point I saw that the leather proved too bulky so I cut off the top folding bits. Do you see where to shove the long leather flaps? This is where they´ll stay snugly glued when you are done. But maneuver them in there very carefully! No hammering on the metal! 
Take your leather piece off rings, apply glue to the center bits and glue the thing on. 
In gluing leather, it is important to "paint" the entire leather with the glue, no air pockets! And apply glue in small sections and hammer the thing down! No matter how strong you are, you will need to hammer the leather as it seals the leathers together.

Practically, this is how I made my black binder above. Lastly I trimmed the edges once the leather was completely glued and hammered (no, not like that) , conditioned the leather and put it to good use.

This time though... I had all this sleeve material to use. So I made a full length pocket. I sewed two sleeves together (after creating straight cuts on the sides) and hammered and glued the seam allowances open. At this point I noticed how the makers of this leather jacket had taken the sloppy road by not finishing the seam allowances, so I glued and hammered them open as well. 
Then I cut a piece, slightly longer than the binder was and cut it as tall as it could be cut. 
All the excess height got flipped to the inside.
I sewed a seam on the top of the pocket edge.
I sewed a seam to the binder upper edge.
I sanded the edges of the pocket piece to taper them.
I then laid the binder atop the pocket piece, turned the edges of pocket piece around the binder edges and glued and hammered them there. Then I sewed the thing.
I used two leather-work threads, the bobbin thread a lighter, burgundy thread and the upper stitching was done with light brown leather-work thread. The thicker thread doesn´t seem to "flow" no matter how I adjust the bobbin but then, see if I care that there are two threads on this rugged friend.


And here it is without things inside after conditioning


And here it is from the outside. You see the character the sleeve pieces have adopted during the decades. You can diminish them or at least negotiate with them by lightly steaming through ironing cloth THE IRON ABSOLUTELY NOT TOUCHING THE LEATHER! You will proceed to maneuver the leather to its flatter, less bumpy form. Experience has proven me that when something is grumpy for +60 years, it is not likely the thing will adjust to a new outlook. The leather will adopt its former form very fast. So I didn´t even try. The jacket was here on earth long before I was, so I´ll just tip my hat to that fact and let the leather take shape and form in which it is accustomed to and in which it is happiest. None of us are perfect and having life shown is actually quite attractive.


With the stuffing.


Sideview.


This is how it looks in inside the pocket.


My weekly view is on landscape.I made the sheets myself since Steve & Ray decieded to respect the integrity of Week- Ends. I don´t respect the integrity of Week- Ends. I respect the leisure- aspect of those two days and that includes checkered flannel pajamas, wooly socks, endless supply of nicely brewn tea, baking, naps on the comfiest sofa and watching movies with my cub. None of that activity needs timetables. But then, surprisingly many people are actually *not* allergic to human interaction and like to stuff their planner on this thing called socializing. To me, that sounds very strange, utter nonsense and very exhausting. But then, there always is the annoyingly perky side of the mirror and those people, no doubt about it, need adequate space for their Sat-Sun planning.


Monday, 6 October 2014

a6 notebooks with side pockets from a5 notebooks


A little trick I´d like to share. 
I go through commonplace books and brain dump- notebooks exceedingly fast. I almost always end up with bits of paper or receipts to copy and whatnot in random stationery on the notebooks as I go about my days. Brain dump being the first notebook in my A6-carry everywhere TN, I usually shove loose scraps of paper in the first, the most active notebook so these little pockets have proved to serve their purpose on several occasions. 
Here is how I do this. It takes only a few minutes to do this, it´s not brain surgery but adds to the convenience generously.


I love the covers of these a5 notebooks.They are from Taurus Journals, they are 100% recycled. However, as much as I adore the covers, the paper quality leaves much to desire. This comes as no surprise as they are recycled but I must admit that oftentimes I choose to use other notebooks just for the fountain pen- friendliness of them.  

What I do is I measure the outlines to a6 size with these cheapest, my most favorite notebooks that I buy (often in bulk) from a local grocery store. They cost 60 cents per notebook, come with environmental friendly- stamp, have smoothest paper imaginable. There´s no mention to the thickness of paper anywhere but my seasoned paper loving fingers approximate their paper being in the 60-75 gsm range
(I´m reluctantly adding the 75 and suspect it would be pending on the 60-70 range rather).
What´s best, paper is fountain pen friendly, only slightly shadows through, does not bleed at all and provides with fabulous note taking experience. The notebooks have 7 mm grid paper. In case I have not underlined this quite enough, I love these notebooks.

Back to the merry task ahead, it is.
With a craft knife I then cut the notebook to a6 size, leaving the covers untouched.
I then cut the excess cardboard from the top and bottom of notebook covers. 
From then on I basically turn the sides in, use clear tape to tape the sides to their respective places 
(I love Scotch Crystal tape. It sticks like glue and is very clear). Sometimes I add washi on top of the tape but this time I chose not to. These covers have enough going on and I don´t want too much fluff in my notebooks. Notebooks are my everyday tools to use and not a party tree to decorate. To each their own.


I like a neatly pressed edge but sometimes cardboard leaves a white edge after pressing it down firmly.
This is easily mended by a few dabs from ink pad. It pays to use waterproof ink.


Quite a lot neater edge there. Somehow the sudden emergence of direct sunlight from window altered the look of the covers, I really didn´t ink the rest of the cover.


Here is the old notebook that the new friend replaced. I happen to love these wax- covered notebooks as well. They have very smooth, thin grid paper, are fountain pen- friendly and are easily accessible from our local Staples. They come in variety of sizes but for a MTN-styled fauxdori, their thickness becomes an issue. They have 180 pages and can get cumbersome, especially mixed with these thinner notebooks. But they are lovely, though. The waxed covers only become lovelier by use- I pamper these with a nice polish of Pledge every Friday, which is my library, tote, wallet, office desk & -supplies cleaning day. 


New brain dump book readily to take notes in its place.
(I turned the covers of TN inside out because of course)


The same trick goes with regular TN as well. When the notebooks are closed, these little side pockets can hold even larger & thicker items. Like this address book here. Also, can you now see why I turned the notebook covers so that the suede-side is now visible... yup. 


Happy planning!

Good things come to those who wait

My life is now complete.


And the owls are still not what they seem.

Friday, 13 June 2014

Meet Coccodrillo


Hello all, I´ve been on a hiatus for a while. Lots of things needed to be done and everything in terms of distraction had to be eliminated. 
So once I promised Paul B at Philofaxy to show pictures, I figured it was about time to dust this place, just as well.

The binder below is a former bag. It was a lovely vintage gem that I bought from Amsterdam. Once the bag practically disheveled (I used it a lot), I carefully removed the leather, it comes from from real crocodile and if you know this type of leather, it is very stiff, hard and armor- like. Very contrary to snake and completely opposite to calfskin. I was surprised to see how thin the leather was and how the pattern completely mirrors to the suede-side of the leather. 


So I wanted a personal sized binder but with larger rings. I wanted to add portability to the ability to hold a lot of information and writing space. The next time I went to grocery store I bought a general binder with pliable, thin´ish plastic covers and cut the spine off with rings still attached. I sewed the covers and lining, glued the spine to the leather cover, then glued the leather facing on it, stitched the top seam and then sewed the inside cover including pockets etc and finally stitched the two covers together. 


These pictures, that have not been taken on direct daylight, seem to have both too much flash and then not at all. My apologies.


At the back there is a pocket (all pockets are lined with leather) that holds my mark-it dots.  I placed a sheet of grid paper to protect personal information., There are some loyalty cards and library cards etc. at the back.


The rings measure 3,1 cm´s from inside and 3,5 cm´s when measured from the outside of the rings. I have cut the papers to 9 cm width and they do come all the way to the edge of binder edges, when being closed. To closing I cut a string of leather that I whip around the brass button. I contemplated having no closure at all- I hatehatehate the poky clasp that almost every leather binder usually has. It always bends and bothers and pokes underneath your hand while writing and no matter with how much sheer, animal rage you pound the puckerer on the desk, it boinks back with unnatural fervor every. single. time. Instead of a clasp I opted for a very low profiled brass button and a string of leather.
When the leather string decides that it has had it, I will just toss it and slit a neat opening through which I´ll thread a thin, round rubber ring, anchor it there and use the band to encircle the brass button.
The tabs are made of craft paper, papers are mostly grid and creme papers, I usually carry a ballpoint pen on paper clasp at the side of pages and the pen is even further supported by this string of leather that goes across.


The smoother leather is from old leather trench. I used it to line the front covers as well, as this enabled me to have a large pocket on the whole length of the binder. You see from the picture how the lining leather follows with the grain of coccodrillo. 


No matter how beastly is the nature of this leather, I still have found that it has softened after it´s been used. I have conditioned it alongside with my other leather goods and it has been subjected to hand lotions as well. Somebody asked me how do I dare to use it, she said it looks so expensive. Yet I bought it from a thrift shop as a bag and even as a bag, I still used the old fragile thing like there´s no tomorrow. Once it could no longer be used as a bag, I made a binder out of it. And it is quite likely that this slab of leather will very well outlive me so see if I care if it´s too precious or not by the looks of it. But I´m not pretending to be a shrinking violet and I´ll gladly admit that the thing  does not clash with décor.

The binder measures approximately 5´ísh cm´s in thickness and it´s not even stuffed.